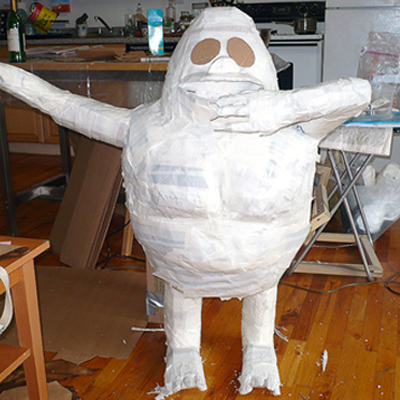
10. Voila! All pieced together and wrapped with massive amounts of masking tape.
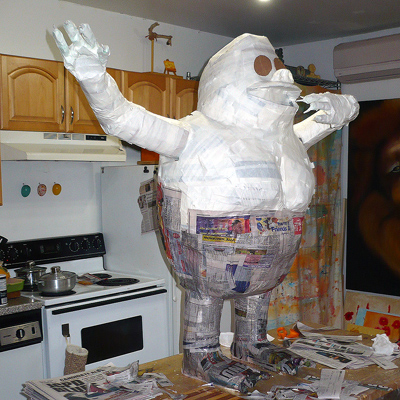
11. Now the fun starts, layering the paper mache. I used wheat paste and did five layers altogether.
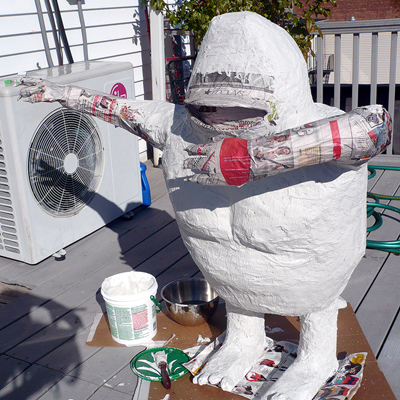
12. Outside for a coat of joint compound.
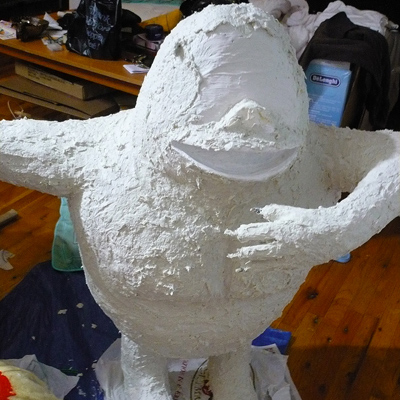
13. Originally I was going to use fur material but I found a great paper "clay" recipe. Here he is after a layer of this roughly applied. I used the paper "clay" to build him up quite a bit. If I had it to do over again, I would be more precise when building the armature. You must wait for each layer to dry thoroughly, and it can take some time.
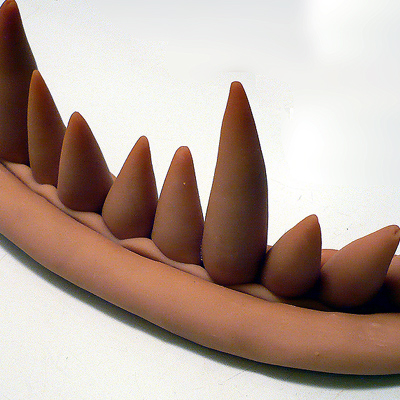
14. While I waited for him to dry I decided to work on his mouth. I made the teeth and gums out of Sculpy and baked them in the toaster oven.
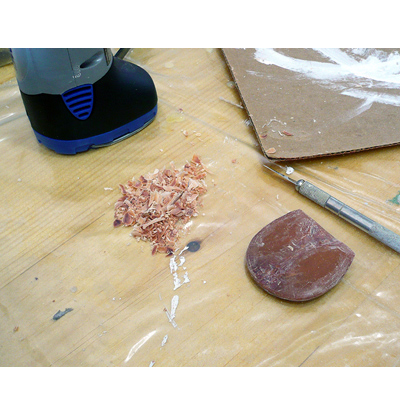
15. Had to do a bit of carving with the Dremel on his tongue.
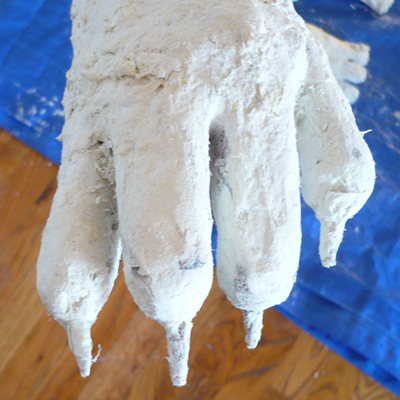
16. I used a metal file to sand down his fingers and toes. Important: Do not sand joint compound without wearing a mask!
17. I cut out some cardboard eyes and added them with a layer of joint compound.
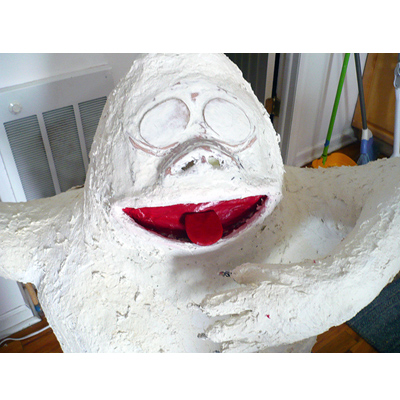
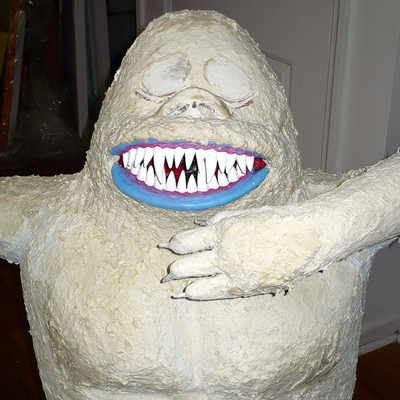
18. Hot glued the teeth in and added some paper "clay" for the fur around the mouth. He looks a bit dirty in the photo but it is just yellowing from the carpenters glue in the mixture.
19. Outside again for a coat of gesso. Too much contrast in this photo, it's hard to see the fur detail.
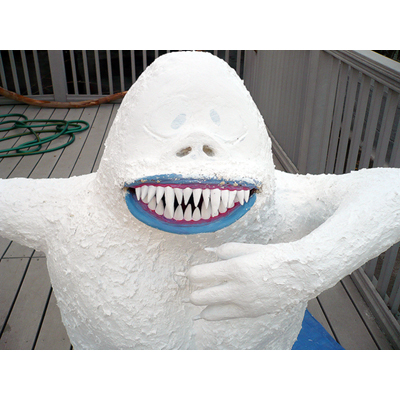
20. Decided he needed one last coat for the fur. I made the paper "clay" and added extra glue and joint compound. I used a wide toothed comb to make it look like fur.
