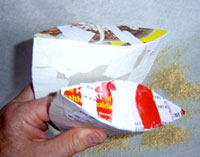
Squeeze the two sides between your thumb and forefinger...

- Squeezing the sides together
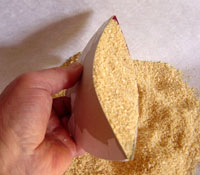
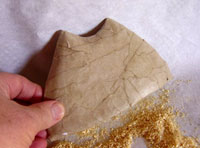
... and fill with your chosen filling, pushing it well down into the head area.
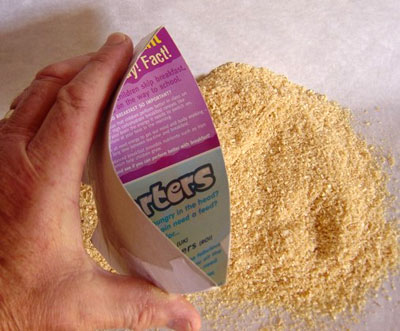
- Filling

What you use depends upon the size of your Sally Cat. A bigger one can take rougher filling, like rough sawdust or screwed up paper. A smaller one will need something finer, like flock, sawdust powder or sand. If you want a bit more weight, use sand, or just top up with a thick layer (that will then lie at the bottom of the Sally Cat).
When it is full to the brim and achieving the shape you want, paste strips over the open end to seal it. Leave to dry.
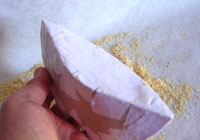
- Sealing

Place the Sally Cat bottom down on a piece of card and draw around it. Cut out the shape, just within your drawn line. Stick it onto the bottom with PVA and reinforce with pasted strips of paper.
- Attaching the base

Paste as many layers over the whole cat as you think is necessary. A minimum of three is needed but you might like to do up to six for added strength. For good strength, use alternate bond and kraft paper, sanding carefully between layers.
- Pasting the layers

If you want any 3D modelling on it like paws and/or a tail, these can be added with a small amount of pulp.
Rough out a design.

- Rough design
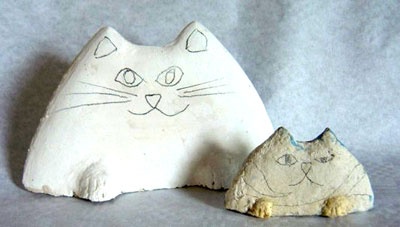
And, when satisfied, paint.
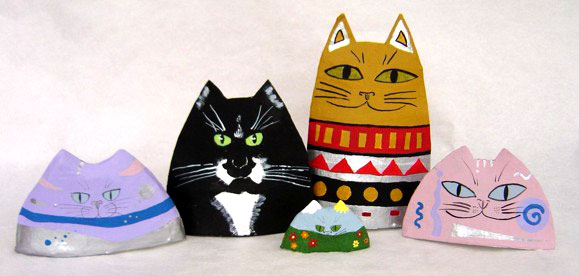
Finished Examples
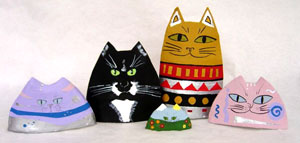
- Finished example
And, finally, if you do make something on this principle, I'd be very pleased to see a picture of it.
David Osborne
(dopapier)
Update
Karin Hermanska from the Czech Republic has created her own Sally Cats and is showing them in her gallery.