You will need...
- Balloons
- Paper towels
- Elmer's glue
- Bamboo tooth picks
- Cardboard (from a cereal box)
- Acrylic or water color paint
- Spray varnish
These balloons come in an assorted bag. You can get these balloons
at a party supply store.
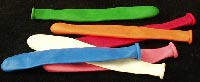
- Assorted balloons
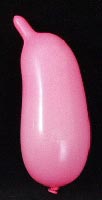
- Forming the shape
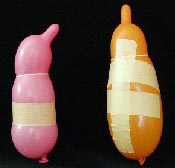
In order to make the penguin shape, do not fill the balloon too full. It
will be easier to manipulate the shape with less air in it. Pinch the tip
of the balloon to shape a beak.
I use a thread for the neck area. Tighten round the neck a couple of times
while manipulating the air distribution between head and body. When it is
satisfactory, secure the thread with a piece of tape.
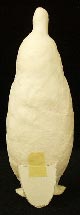
- Making the neck
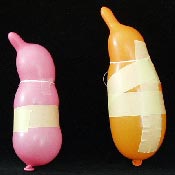
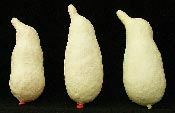
Tear the strips of paper towel. Soak a 50/50 glue and water mix (Equal
parts of water and glue). Gently squeeze out the excess glue. Use smaller
torn pieces for the beak and head area, larger torn pieces for the body
area. Add 5 to 6 layers at one sitting. Let it dry overnight.
Do not put in oven or hang outside to dry. The air inside the balloon
will expand or shrink, changing the shape of the penguin!
- Layering the balloon
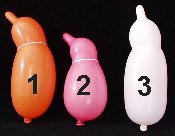
- Making the legs
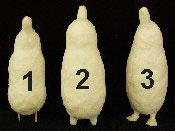
On the bottom of the penguin, mark the leg position and puncture the holes
to put the toothpicks in.
Put glue around tooth picks and let it dry. (No 1)
Use small glued paper to build up the legs. Let it dry. (No 2)
Using a cereal box, draw the feet (make your own shape) and cut them out.
Position the feet and glue them together. Build several layers of glued
paper under and over the feet. (No 3)
After drying for several hours, shape the feet to prevent warping.
- Making the feet
- The tail
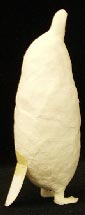
- The tail
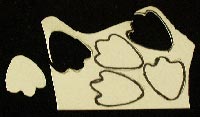
Cut the cereal box for the tail (half oval shape), position on the back
with tape. Put a couple of layers of glued paper on the tail and
underneath. Let it dry.
Ready to Paint: Lightly pencil eyes, fins and any special patterns on the
penguin. After the paintings are dry, varnish them.
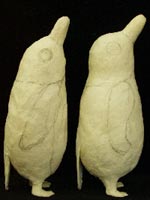
- Ready to paint!