How to cut and apply decoupage stickers
The finished piece will be a steamer trunk as in example.
You will need:
- Cutting board
- Sharp craft knife
- Masking tape
- Construction paper
- Adhesive
Step 1
I created these stickers on the computer. This allows me to scale the stickers to the dimensions that I need to fit the box. After printing them the correct size, make yourself a cutting surface.
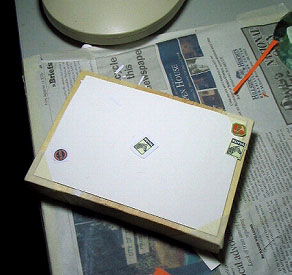
- Cutting surface
Shown here is a piece of wood covered with a thick paper (I used watercolour paper) that is taped down using masking tape. This provides a sturdy, table top saving, knife blade saving surface to cut on.
- Working area
Step 2
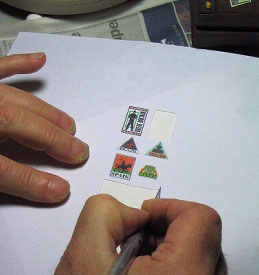
Cut out all your stickers with an exacto knife, larger than necessary and adhere them to a strip of upside down masking tape as shown in photo. You'll do the fine trimming later on. The tape ensures that they won't get lost or blown away.
- Cutting out
Step 3 - Trimming a sticker
Place a small piece of construction paper beneath the sticker you want to trim. This allows you to turn the sticker and the underlying paper together, making it easier to turn and preventing wear on the sticker. It also allows contrast so you can see the edge better.
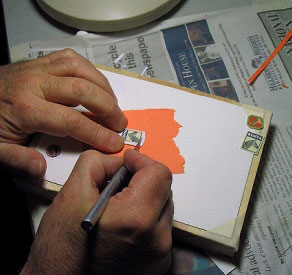
- Trimming a sticker
To cut, turn the sticker so that you're looking down the knife blade as shown in the photo. This allows you to see precisely.
Cut starting above the top horizontal cut, so that when the top cut is made, it will cut through this first cut. Cut completely! Even small corners, if torn, will look less than desirable. Tears, even the smallest, are a no-no!
Cut with a single draw of the knife. Draw the knife STRAIGHT!