Of course, during this time, work on the hull did not stop. I have genuinely lost count how many coats of primer and paint were applied. Hard stopper was used to fill papier mache wrinkles and so on, and eventually I plucked up enough courage to drill a hole through the hull to fit the rudder! It was a tense moment in the Shilling household!
- Working on the hull
Eventually, it all seemed to fit in place. A little tight is some places, and a little slack in others, but the hull bow was dead straight now (see previous page's trials and tribulations), and things were getting to the point where colour schemes, and the arty-farty stuff were to be considered. Time for some primer, and test top coats, rubbing down, hard stopper, and so on.
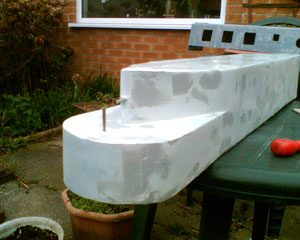
This picture shows the result of primer coat number 5 (of a series of 8, I think).
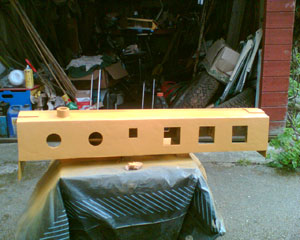
- Primer coat No. 5
Now, if this were a car body, I would be going for perfection. A wooden boat would command about 90% perfection. A paper/cardboard boat I decided, was going to be worthy of about 75 - 80% perfection in the paint coat quality. Any more than that, and I would be still working on it in my retirement!
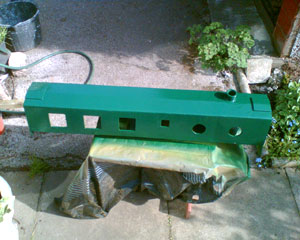
- Top coat of paint
With the top coat on the cabin, I applied a white coachline from the car accessory shop, which looks rather nice. I made a name plate for her which reads "PAPILLION" with "NOTTINGHAM " underneath in smaller lettering. I waterproofed this with Airfix sealer and it was looking rather dapper.
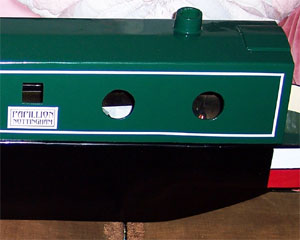
- White coachline markings