Update - 25th May, 2006
So, the papier mache narrowboat stood collecting dust for many months, until Jackie said that I needed a boot to get me going! In that rash moment, I said... "If you make me a papier mache boot, then I'll finish the boat". Well, wouldn't you know... she called my bluff! With the "Shilbo Boot" staring at me accusingly from my desk, I had no choice but to continue building the boat.
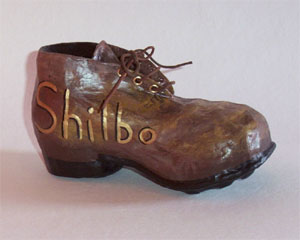
- Boot
Building the superstructure was a complete nightmare. The cardboard had two seams in it where it was folded in its previous life as a box of Cadbury's creme eggs. You can see the fold in this photo.
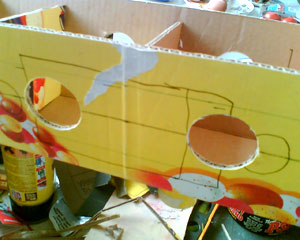
- Fold in cardboard
Round windows were made using a special type of compass which holds a knife blade instead of a pencil. Even so, there was blood sweat and tears in the building of the cabin.
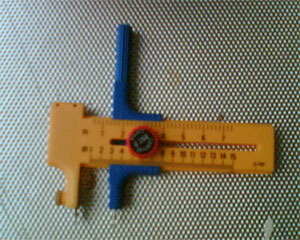
- Tool
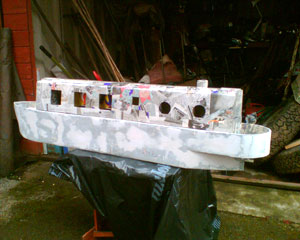
Bracings had to be fitted transversely, and windows cut into the sides, avoiding the bracings. Even the chimney was a pain, and getting the superstructure to fit snugly onto the hull, after the papier mache had dried and warped into some quite complex (and worrying) wobbly lines, was a complete nightmare.
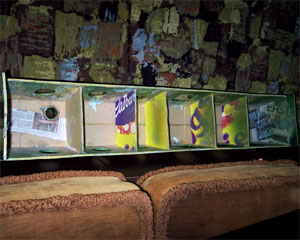
- Bracings
Having wet it, re-wet it and jigged it so that it dried straight(ish) and spent weeks getting it lined up, the superstructure eventually fit onto the hull.
- Fitting structure to hull